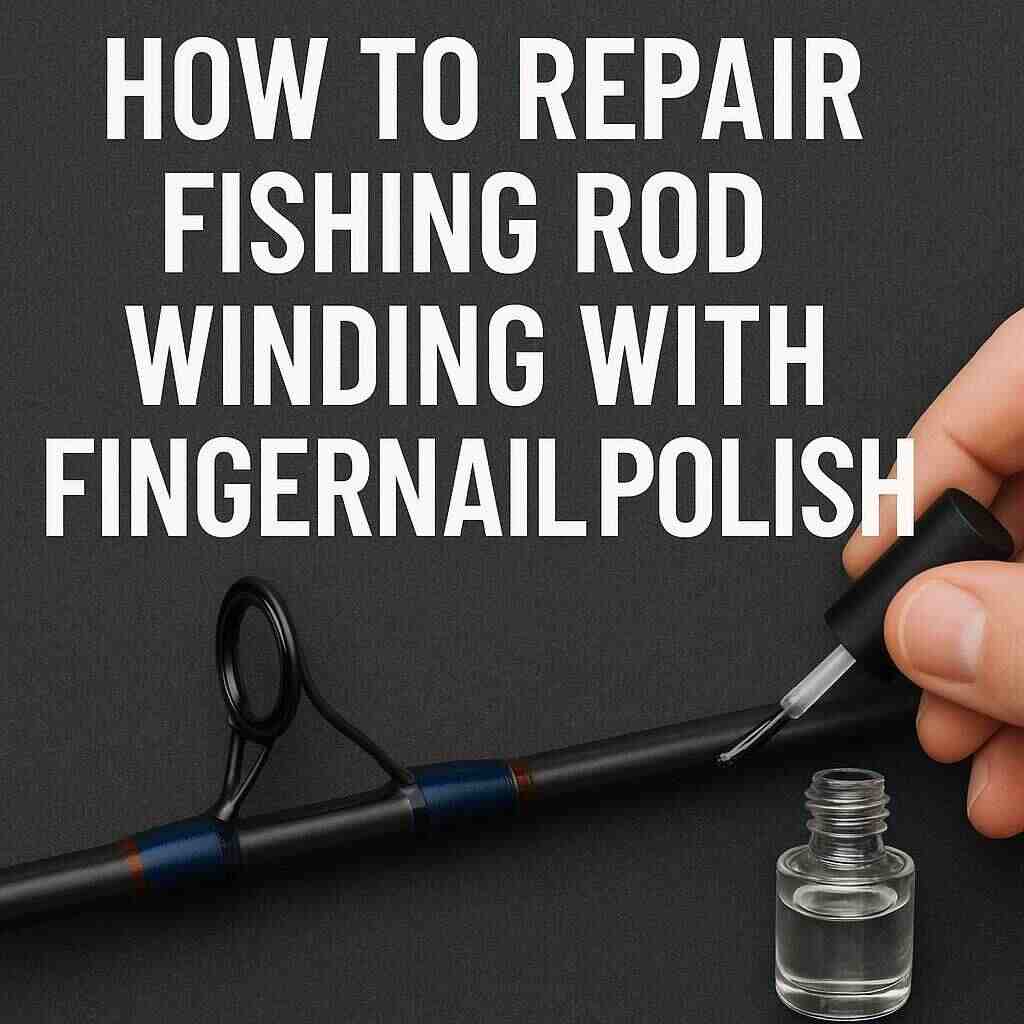
Fishing rods take a beating—whether you’re battling bass at dawn or storing your gear after a long day on the water. The windings (also called the thread wraps) that hold your rod’s guides in place are often the first to show wear. But before you think about tossing that trusty rod or spending money on a new one, there’s a surprising solution you might already have at home: fingernail polish.
Yes, that tiny bottle sitting in a drawer can help you fix, seal, and protect your fishing rod’s winding like a pro. Let’s dive into this simple, creative method that anglers—especially those who love a good DIY fix—can use to keep their rods strong and fishing-ready.
Why Does Rod Winding Matter?
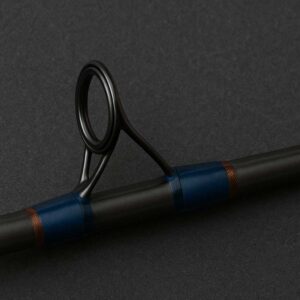
The winding refers to the thread wrap that firmly secures the line guides to the rod blank. It also helps distribute stress and shields the rod from cracking or breaking under pressure. Over time, exposure to sun, water, and hard-fighting fish can wear the wrapping down or loosen the coating. When that happens, your guide might shift or even fall off.
If you’ve ever noticed fraying thread or dull, chipped coating around your guides, your winding is crying out for help. But don’t worry—you don’t need fancy tools or expensive resin. A simple bottle of clear fingernail polish can bring it back to life.
Why Use Fingernail Polish?
Fingernail polish works well for rod repairs because:
- It dries fast – Great for on-the-go fixes or quick home repairs.
- It’s clear or comes in many colors – You can match or enhance your original wraps.
- It seals and protects – Just like clear rod lacquer, it adds a hard, glossy finish over the thread.
And let’s be honest—it’s easier to find in most homes than rod-building epoxy.
Tools and Materials You’ll Need
Before we begin, gather these basic items:
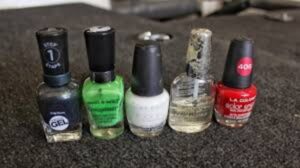
- Fingernail polish (clear for protection, colored if needed)
- Strong thread (nylon or polyester)
- Small scissors or a sharp utility knife
- Cotton swab or small brush (if applying polish precisely)
- Electrical tape (optional)
- A lighter (optional, for sealing thread ends)
Step-by-Step Guide: Repairing Fishing Rod Winding with Fingernail Polish
Let’s go through the repair process one step at a time. Whether you’re touching up old wraps or replacing one completely, the steps are simple and beginner-friendly.
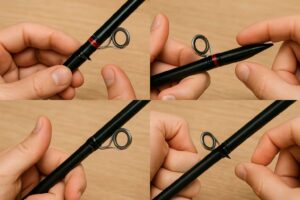
Step 1: Inspect the Damage
First, check the guide and the thread wraps. If the guide is still in place and the thread is only fraying or faded, a quick coat of polish might be all you need. If the guide is loose or missing, you’ll need to re-wrap it with thread before sealing it.
Step 2: Remove Loose or Damaged Wrapping
If the winding is too damaged to save, gently cut the old thread with a utility knife or small scissors. Be careful not to cut into the rod blank. Peel off the old wraps and remove any leftover adhesive or polish with your fingernail or a fine sanding pad.
Step 3: Reposition the Guide (If Needed)
If the guide was loose or fell off, place it back where it belongs. Use a small piece of tape to hold it in position temporarily. Make sure it’s aligned straight with the rest of the guides.
Step 4: Wrap the Thread
Take your thread and hold one end along the rod shaft. Start wrapping tightly over that end to secure it in place. Continue winding the thread neatly around the rod and over the foot of the guide. Try to make each wrap sit close to the last one with no gaps.
When you’re about 6–8 wraps from the end, take a short piece of thread and make a loop. Lay the loop on the rod and wrap it over it. When you’re done, cut the thread, pass the loose end through the loop, and pull the loop under the wraps to tuck the end in.
Trim any excess.
TIP: You can use different thread colors or match the original color to keep your repair looking clean.
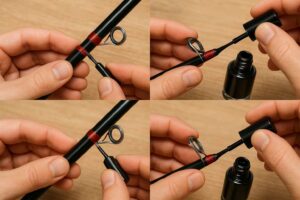
Step 5: Apply Fingernail Polish
Now comes the magic part. Take your fingernail polish—clear works best for sealing—and apply a thin, even coat over the thread. Use the paintbrush or a small paintbrush for control. Let it soak into the threads and dry fully.
This coat hardens the wrap and protects it from water, dirt, and UV damage.
You can repeat with two or three coats, letting each layer dry before adding the next. This gives a smooth, durable finish just like factory-made rods.
Optional: If you’re repairing multiple wraps or want to add flair, use colored fingernail polish to touch up or customize your rod’s look. Some anglers even add glitter or metallic coats to match lures or personalize their gear.
Step 6: Let It Cure
Once your final polish coat is on, let the rod sit undisturbed for several hours or overnight. Make sure it’s in a safe place where the polish won’t smudge. Once it’s dry, gently test the guide with your finger. If it feels solid, your repair is done.
Pro Tips from DIY Anglers
Here are a few helpful tips from folks who’ve done this many times:
- For a glossy finish: Use high-gloss fingernail polish. For a more natural look, try satin or matte.
- Fixing multiple wraps? Work one at a time to avoid making a mess or overlapping wet polish.
- For extra protection: Apply a drop of polish where the guide foot meets the rod to prevent water seepage.
- Traveling light? Keep a mini repair kit in your tackle box: small thread roll, clear polish, and tiny scissors.
Can You Trust a Fingernail Polish Repair?
Absolutely. While it won’t replace professional rod-building epoxy for long-term heavy use, fingernail polish is perfect for quick fixes, especially in the middle of a trip or when you’re not near a tackle shop. In fact, many seasoned anglers prefer it for emergency repairs or even final coatings on their custom rod builds.
The best part? It’s budget-friendly, easy to use, and works surprisingly well.
When to Replace Instead of Repair
While winding repairs are simple, if your rod is cracked, splintered, or broken near the reel seat or ferrule, that’s a bigger issue. In those cases, repairs might be temporary, and you should consider visiting a pro or replacing the rod.
But for fraying thread, dull wraps, or guide repairs, fingernail polish is your new best friend.
Final Thoughts
Fishing isn’t just about the catch. It’s about the craft—the quiet moments, the gear, and the little fixes that let you keep going. Learning how to repair fishing rod winding with fingernail polish is a skill that saves money, extends the life of your rod, and adds a touch of creativity to your fishing game.
So the next time your rod shows wear, don’t panic. Reach for that tiny bottle of polish, wrap it up right, and get back to what you love—chasing fish with confidence and a rod that’s ready to perform.